Master Easy Candied Walnuts: Stovetop Secrets for Glossy Crunch
Forget the fuss of complicated baking and lengthy oven times. Imagine perfectly sweet, beautifully glossy, and irresistibly crunchy walnuts ready in mere minutes. This isn't a culinary fantasy; it's the reality of mastering
easy candied walnuts right on your stovetop. Whether you're aiming to elevate a simple salad, impress guests with a stunning charcuterie board, or simply indulge in a wholesome, delightful snack, these quick and **easy candied walnuts** are a game-changer. They offer that coveted caramelized coating without the need for egg whites or a slow oven bake, making them accessible to everyone, including those with dietary restrictions. Get ready to unlock the secrets to creating this versatile, delicious treat with minimal effort and maximum flavor.
Why Stovetop Candied Walnuts Are Your New Go-To
The conventional method for candied nuts often involves an egg white coating and a low-and-slow bake in the oven, a technique known for achieving an intensely crunchy, almost brittle-like finish. While undeniably delicious, this approach demands time and patience that we don't always have. This is precisely where the stovetop method shines, offering a brilliant alternative that prioritizes speed and simplicity without sacrificing flavor.
These **easy candied walnuts** are truly a 10-minute marvel. From start to finish, you can transform plain walnuts into a dazzling, sweet and savory sensation in less time than it takes to preheat your oven. The convenience factor makes them an ideal solution for last-minute meal enhancements or an impromptu treat. Beyond speed, the stovetop method boasts several compelling advantages:
- Naturally Egg and Dairy-Free: Perfect for those with egg allergies, lactose intolerance, or anyone following a vegan diet. This method relies purely on the magic of melting sugar, spices, and a touch of liquid.
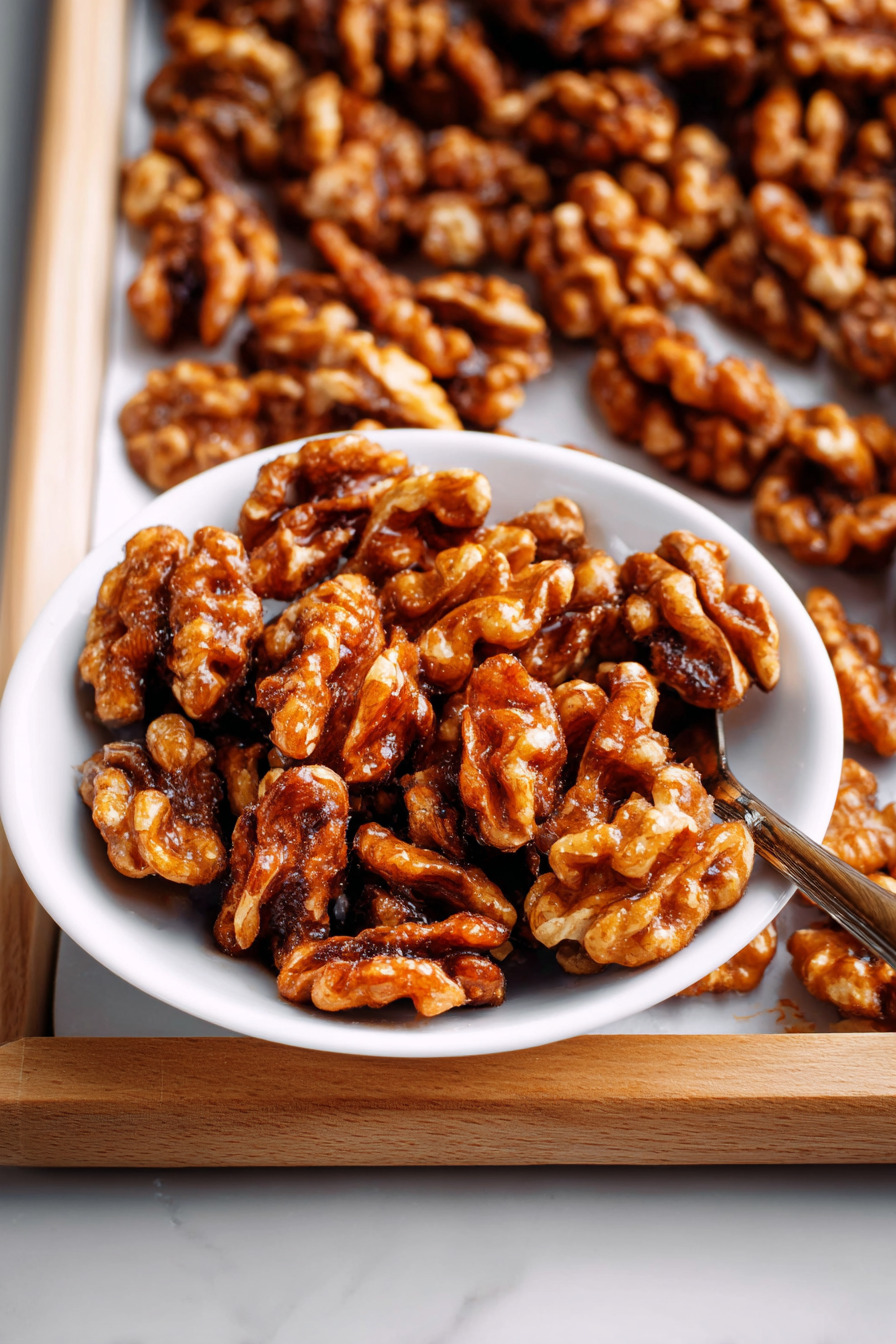
- Effortless Glossy Finish: Unlike some oven-baked versions that can result in a more crystallized or flaky coating, stovetop candied walnuts achieve a beautiful, even, and glossy glaze. Each walnut is perfectly coated, offering a smooth, caramelized sweetness that clings beautifully.
- Versatility Unleashed: While they might not possess the exact same 'ultimate' crunch of their slow-baked cousins, their delightful texture and flavor profile make them incredibly versatile. They add a delicious pop of sweetness and crunch to vibrant salads, elevate elegant charcuterie boards, or can be packaged as thoughtful, homemade gifts. And, of course, they're simply fantastic for snacking, especially during the festive holiday season.
This quick preparation means you can have a batch ready for your morning oatmeal, an afternoon pick-me-up, or to garnish a weeknight salad with unexpected elegance. For more on creating this particular type of delectable nut, you can also read about
stovetop candied walnuts: glossy crunch without the oven.
The Secrets to Stovetop Success: Ingredients & Prep
Achieving perfectly glossy and crunchy stovetop candied walnuts isn't just about speed; it's about understanding a few key principles and leveraging the right ingredients. Think of these as your personal "keys" to unlocking candied walnut perfection.
Choosing Your Ingredients Wisely
While the ingredient list is refreshingly short, each component plays a crucial role in the final flavor and texture:
- Walnuts: Of course! Opt for high-quality walnut halves or pieces. Freshness matters for the best flavor.
- Sugar Blend: This is where the magic happens. A combination of **brown sugar and granulated sugar** is truly the best of both worlds. Brown sugar introduces rich, deep caramel notes, contributing to a more complex flavor profile. Granulated sugar, on the other hand, is key to achieving that desirable crispy exterior and glossy sheen. Using both ensures a balanced sweetness and ideal texture.
- Liquid Base: This is your opportunity for subtle flavor customization.
- Orange Juice & Zest: My personal secret weapon! Fresh orange juice and zest infuse the walnuts with a bright, citrusy kiss that beautifully complements the sweetness and spices. This results in a distinctly vibrant, citrus-forward candied nut that is truly irresistible.
- Water: If you prefer a more classic, less pronounced flavor, or simply don't have oranges on hand, water works perfectly well as the liquid base. It allows the natural walnut and spice flavors to shine through more dominantly.
- Spices & Seasonings: Don't underestimate the power of a pinch!
- Cinnamon: A staple for warmth and classic sweetness.
- Salt: Essential for balancing the sweetness and enhancing all other flavors. Don't skip it!
- Cayenne Pepper: For those who love a subtle kick! A pinch adds a delightful warmth and gentle heat that creates a sophisticated sweet-and-spicy profile.
- Warming Spices: Experiment with a pinch of nutmeg, ginger, allspice, cardamom, or even a pre-mixed pumpkin pie spice for extra seasonal coziness.
- Dried Rosemary: For a savory twist, dried rosemary offers an aromatic, herbaceous note that pairs wonderfully with the sweet coating, especially for charcuterie boards.
Essential Preparation Steps for Success
Before you even turn on the heat, a couple of preparatory steps will guarantee a smooth process and perfect results:
- Line Your Baking Sheet First: This might seem trivial, but it's critically important. Line a rimmed baking sheet with parchment paper and set it aside. As soon as your candied walnuts are ready on the stovetop, they need a non-stick surface to cool down quickly. Parchment paper ensures absolutely no sticking and makes cleanup an absolute breeze. Wax paper or foil are not ideal substitutes here, as they can stick or tear.
- Use a Heavy Skillet: The type of pan you use significantly impacts the outcome. A heavy-bottomed skillet (cast iron or a good quality stainless steel pan with a thick base) is paramount. A heavier pan distributes heat much more evenly across its surface. This consistency is crucial for preventing the sugar mixture from scorching or burning in spots before it has a chance to fully melt and coat the walnuts. Thin-bottomed pans are prone to hot spots, which can lead to burnt sugar and a bitter taste.
By paying attention to these details upfront, you're setting yourself up for an incredibly easy and successful candied walnut experience.
Step-by-Step Guide to Glossy Perfection on the Stove
Now that you've gathered your ingredients and prepped your workspace, it's time to bring these **easy candied walnuts** to life. This method is incredibly straightforward, but a few key techniques will ensure you achieve that perfect glossy, crunchy coating every time.
Step One: Prepare Your Landing Pad
Before you do anything else, make sure your cooling station is ready. As mentioned, line a rimmed baking sheet with parchment paper and place it nearby. Once the walnuts are cooked, they need to be spread out immediately to cool, and you won't have time to fuss with lining a pan then. This proactive step prevents sticking and guarantees easy removal.
Step Two: Combine Ingredients in the Skillet
Here's a crucial departure from some traditional methods: **add all ingredients to the cold pan at once.** In your heavy skillet, whisk together the brown sugar, granulated sugar, cinnamon, cayenne (if using), salt, orange zest, and orange juice (or water) until they are well combined into a paste-like mixture. Then, add your walnuts directly into this mixture in the pan. Toss everything together thoroughly until the walnuts are evenly coated with the sugar and spice mixture.
*Why this order?* I've experimented with cooking the glaze first until the sugar melts, then adding the nuts. The consistent finding is that the sugar mixture tends to crystalize too quickly, or even begin to burn, before the walnuts have a chance to properly toast and absorb the flavors. Combining everything from the start ensures the sugar melts smoothly alongside the toasting nuts, resulting in a perfectly coated and flavorful product. It's truly the easiest and most effective way!
Step Three: Candy the Nuts Over Medium Heat
Place your skillet, with all the coated walnuts, over medium heat. This is where the magic happens, and your full attention is required. **Stir constantly** for approximately 3-4 minutes.
As the pan heats up, you'll observe the following transformation:
- The sugar mixture will begin to melt and liquefy, creating a glossy syrup.
- This syrup will thoroughly coat each walnut, clinging beautifully.
- As the walnuts toast, their natural oils will release, enhancing their inherent flavor and aroma.
- The mixture will start to bubble gently. Keep stirring to prevent any sugar from burning or sticking to the bottom of the pan.
The goal is for the sugar to fully melt and evenly coat the nuts, becoming thick and glossy. You'll notice the mixture becoming less grainy and more syrupy. The walnuts should be fragrant and look visibly toasted. Don't overcook them; once the sugar is melted and adhering well, they're ready.
Step Four: Cool and Separate
Immediately remove the skillet from the heat. Carefully pour or scrape the hot candied walnuts onto your prepared parchment-lined baking sheet. Using a spatula or the back of a spoon, spread them out into a single layer as quickly as possible. This helps them cool down faster and prevents them from clumping together too much.
Allow the walnuts to cool completely. As they cool, the sugar coating will harden, transforming into that glossy, crunchy shell. Once entirely cool (this can take 15-30 minutes, depending on the thickness of your coating and room temperature), gently break apart any clumps that have formed.
Elevate Your Candied Walnuts: Flavor Variations and Serving Suggestions
The beauty of these **easy candied walnuts** lies not only in their effortless preparation but also in their incredible versatility. Once you've mastered the basic technique, the possibilities for flavor variations and culinary applications are endless.
Inspiring Flavor Twists
Don't hesitate to experiment with the spice profile to suit your mood or the season:
- Spice It Up: As mentioned, a pinch of cayenne adds a delightful warmth. For more complex heat, try a touch of smoked paprika alongside the cayenne.
- Warming Autumnal Blend: Beyond cinnamon, incorporate nutmeg, ground ginger, allspice, or a ready-made pumpkin pie spice blend for a cozy, fall-inspired treat.
- Herbaceous & Savory: For a more savory profile, particularly excellent for cheese boards, add a teaspoon of dried rosemary or finely chopped fresh thyme to the sugar mixture.
- Citrus Infusion: While orange zest and juice are fantastic, consider experimenting with lemon or lime zest and a tiny squeeze of juice for a different kind of bright, tangy kick.
- Extracts: A few drops of vanilla extract, almond extract, or even rum extract added right at the end (after removing from heat, but before spreading) can introduce another layer of aroma and flavor.
Creative Serving Suggestions
These stovetop candied walnuts are far too delicious to be confined to just one use. Here are some ideas to inspire you:
- Salad Superstars: This is arguably their most popular application. Sprinkle them over fresh green salads, grain bowls, or fruit salads for an irresistible pop of sweetness and texture. They pair exceptionally well with bitter greens, goat cheese, apples, and pears.
- Charcuterie & Cheese Boards: Elevate any cheese platter or charcuterie spread. Their sweet crunch provides a delightful contrast to creamy cheeses, savory meats, and tart fruits.
- Breakfast Booster: Transform your morning routine by adding them to oatmeal, yogurt parfaits, overnight oats, or even sprinkled over pancakes and waffles.
- Dessert Delight: Use them as a topping for ice cream, baked apples, fruit crumbles, or incorporate them into cookie and brownie recipes for an added layer of flavor and texture.
- Everyday Snacking: Keep a jar handy for a quick, satisfying snack. Their combination of healthy fats, fiber, and natural sweetness makes them a more wholesome alternative to many processed treats.
- Thoughtful Gifting: Package these **easy candied walnuts** in a pretty jar with a ribbon, and you have a charming, homemade gift that's perfect for holidays, hostess gifts, or a simple 'thank you.'
Conclusion: Your Stovetop Journey to Candied Walnut Bliss
Mastering **easy candied walnuts** on the stovetop opens up a world of culinary possibilities, proving that exceptional flavor and texture don't always require extensive time or effort. With just a handful of simple ingredients and a few minutes over medium heat, you can create a batch of glossy, crunchy, and irresistibly sweet nuts that will elevate everything from your everyday salads to your most impressive holiday spreads. The quick 10-minute prep, combined with the versatility of flavor variations and diverse serving options, makes this stovetop method a true kitchen essential. So go ahead, grab your skillet, and prepare to delight your taste buds with these perfectly **easy candied walnuts**.